

A WordPress admin plugin to Customize and secure your WordPress dashboard
Easy menu items: Duplicate a menu item instead of rebuilding it
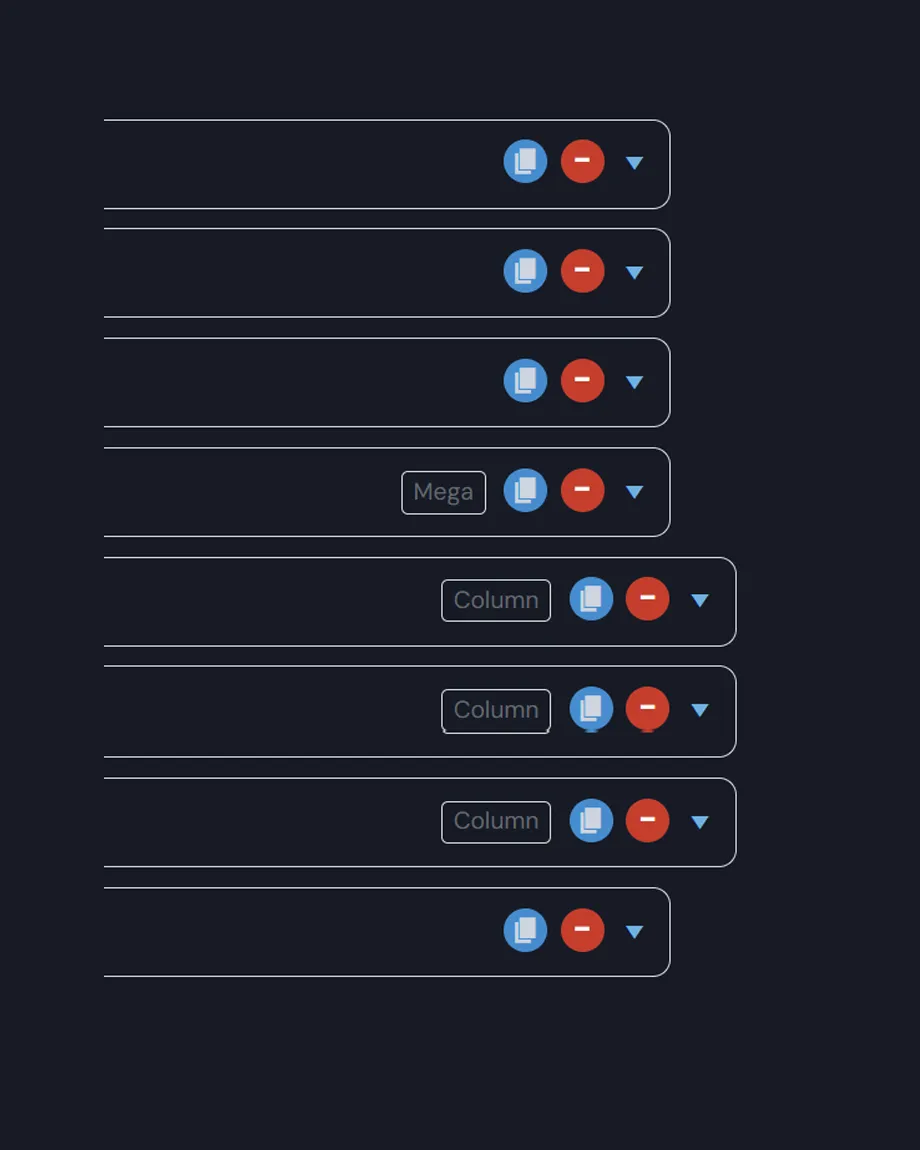
In Appearance → Menus, two buttons appear beside every item: one removes it, the other duplicates it.Building a menu of ten similar links stops being the same job ten times over.
How to duplicate a WordPress menu item works
WordPress's menu editor is much the same as it was fifteen years ago: to remove an item you open it, scroll to the bottom and click "Remove"; to make a similar one you start again from the left column. Here both gestures become one click, on the row itself.
This is the part that matters. Duplicating by cloning the element on the page would produce something that looks right but isn't: the new item would have no identifier of its own, and on save it would be discarded, overwritten, or half-saved.
Here duplication goes through the same procedure WordPress uses when you add an item from the left column. The result is a properly registered element with its own identifier, which saves and reorders like every other. The difference doesn't show until you save — which is exactly when you don't want to find out.
Not to be confused: this feature is about your public site menus, the ones in Appearance → Menus. For reordering and renaming dashboard items, see the admin menu customizer.
Frequently asked
Five answers on what the two buttons do, what gets copied, and why the duplicate is a real element.
With the button that appears beside the item in Appearance › Menus: one click and the copy lands at the bottom of the list, ready to drag wherever you need it. Title, URL, description, title attribute, open-in-new-tab setting, CSS classes and the XFN relationship all come across.
Two things to know: the copy is created at top level, so if you duplicated a nested item you will need to drag it back under its parent, and any child items are not copied. That is deliberate, because duplicating a whole branch is almost always more than you wanted.
Because the duplicate goes through the same procedure WordPress uses when you add an item from the left column. The result is a properly registered element with its own identifier, which saves and reorders like every other item.
Cloning the element on the page would instead produce something that looks right but isn’t: the new item would have no identifier of its own, and on save it would be discarded, overwritten or half-saved. The difference doesn’t show until you save, which is exactly when you don’t want to find out.
Yes, and it does so without opening the item. In the native editor you have to expand the element, scroll to the bottom and click “Remove”: three gestures for one job. Here it is a single click on the row.
Under the hood it triggers WordPress’s own “Remove” control, so the behaviour is identical to what you already know: the item disappears from the list and becomes final when you save the menu.
No, the left column stays exactly as it is: pages, posts, categories and custom links are added just as described in the WordPress Menus screen documentation.
The two buttons sit alongside the native controls without replacing any of them. They appear only on that screen, and only for users allowed to edit menus.
You still need to save the menu, as with any other change on that screen. The reminder is on the page, because it is the easiest mistake to make once the gestures get quick: you duplicate five items in ten seconds, close the tab, and find them all gone.